Storefront Pages Template
On this section, you will learn how to create and manage your Storefront page using the Dashboard.
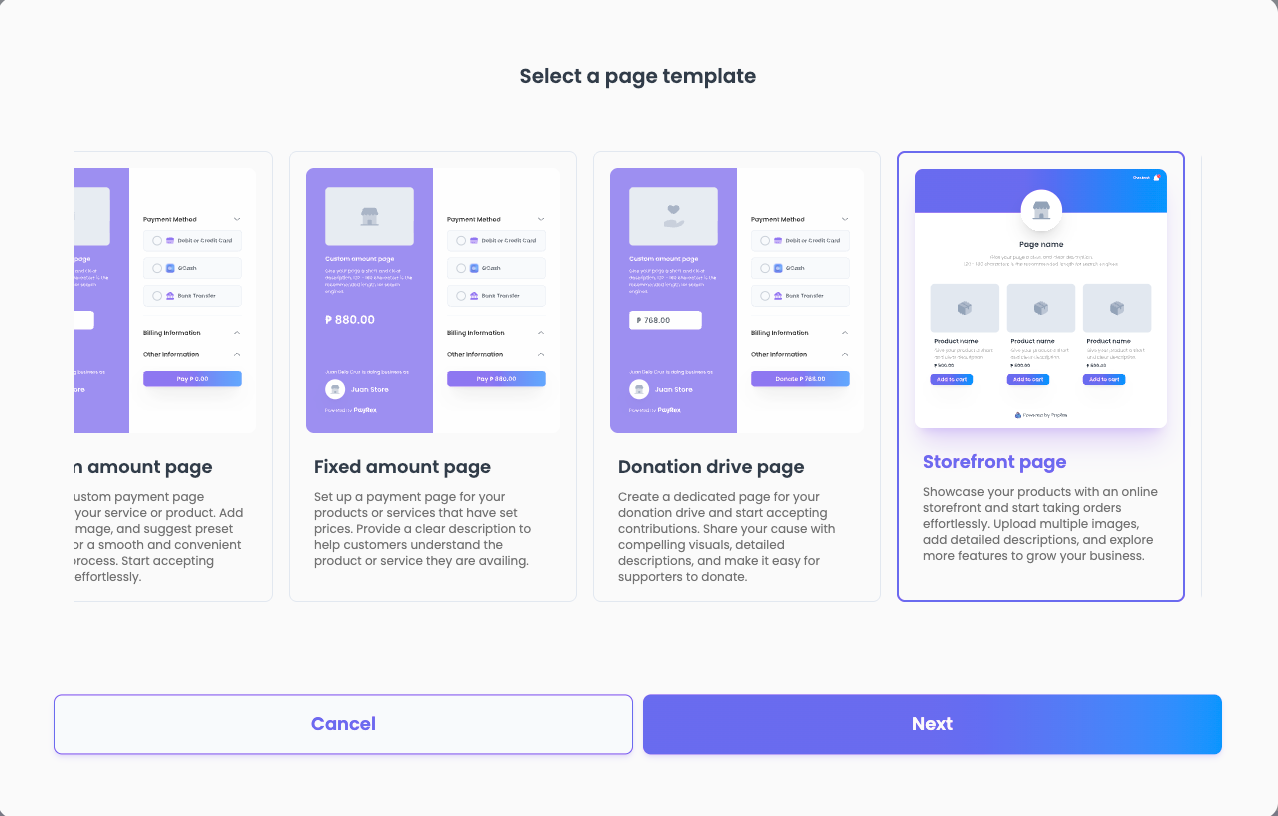
The Pages product features multiple ready-to-use templates to suit your business needs. Storefront is one of the most advanced templates you can use to build your own e-commerce store in minutes. Know more about storefront use cases by heading over to our blog.
Creating a page using the Storefront template
 Create your first Storefront page by following these steps:
- Log in to your Dashboard, then go to Pages.
- Create a page, then select the Storefront page as the template.
- Provide a title for your storefront and define its URL handle. At this stage, you can also select the specific payment options you wish to support on your page.
Updating your Storefront page details
After creating your Storefront page, you may still update its details:
- Page details such as name, handle, description, and status
You can enable or disable a page so that it won't be visible to your customers. This is helpful when you're still organizing its details or finalizing which products to add.
- Metadata: All of the PayRex resources have metadata support so that you can easily reference your internal fields for a smoother reconciliation experience. Check how our existing merchants use metadata to empower their businesses.
- Third-party e-commerce analytics: Integrate Google Analytics or Meta to monitor the performance of your Storefront page ads on platforms like Facebook and Instagram. To enable these integrations, simply provide your Google Analytics measurement ID or Meta ID. To know more about how these analytics integrations can help your business, read our blog about it here.
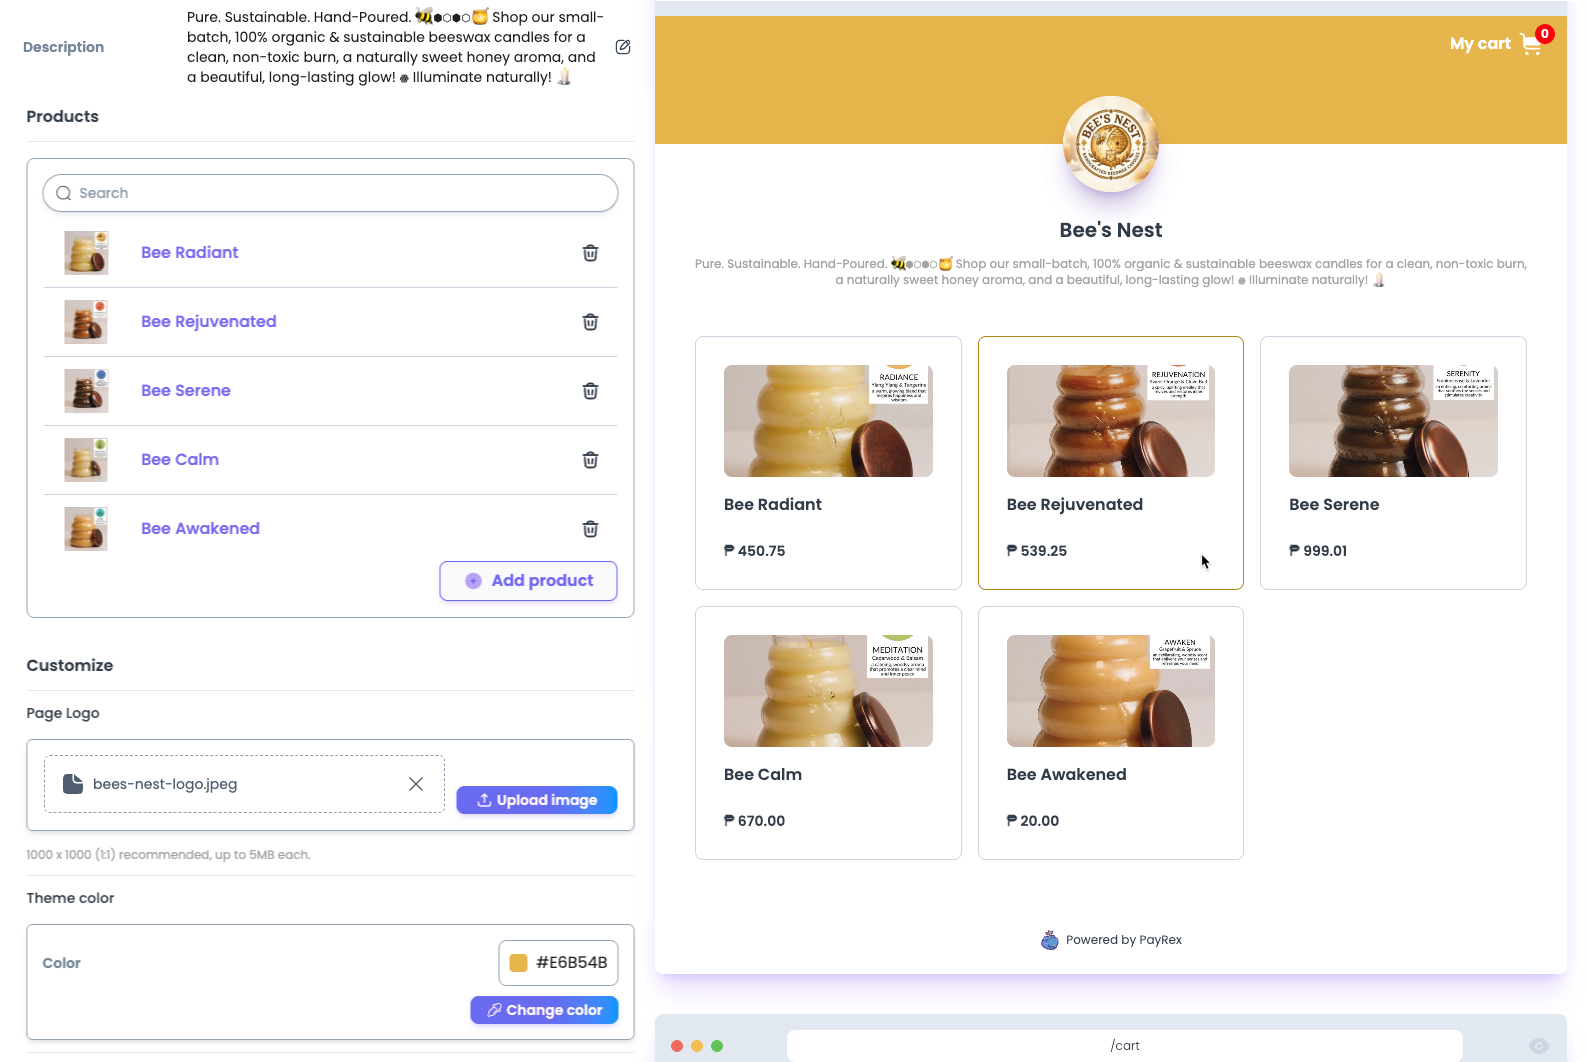
- Products: A comprehensive digital catalog of your items for sale, displaying their names, descriptions, images, and pricing to facilitate customer discovery and sales.
- Appearance customizations, such as logo, theme color, and custom fields: Take advantage of our available customizations so that your Storefront page matches your branding.
- Payment methods: Manage which payment method options you want to offer your customers. This setting is exclusive per page, so you can adjust this configuration based on your page’s use cases.
- Enable hold then capture: The hold then capture feature is currently exclusive to our Storefront pages. See how one of our merchants took advantage of this feature during their pre-sale.
- Allow specific card funding: You can set which card funding can only be accepted for a specific page's transactions.
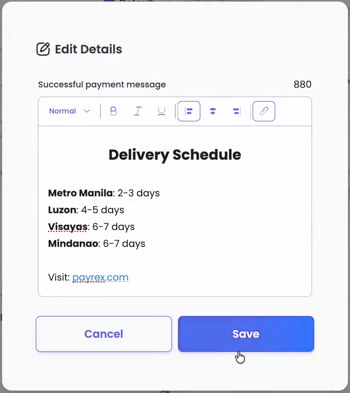
- Custom success page message: You can provide extra order instructions, such as special fulfillment steps or delivery ETAs, by personalizing the message on your success page. This ensures customers receive important reminders immediately after their purchase.
The next step: Building your product catalog
Head over to our product catalog page to know how to add and manage products for your storefront page.